Kadence Free Theme Add About Box in Sidebar
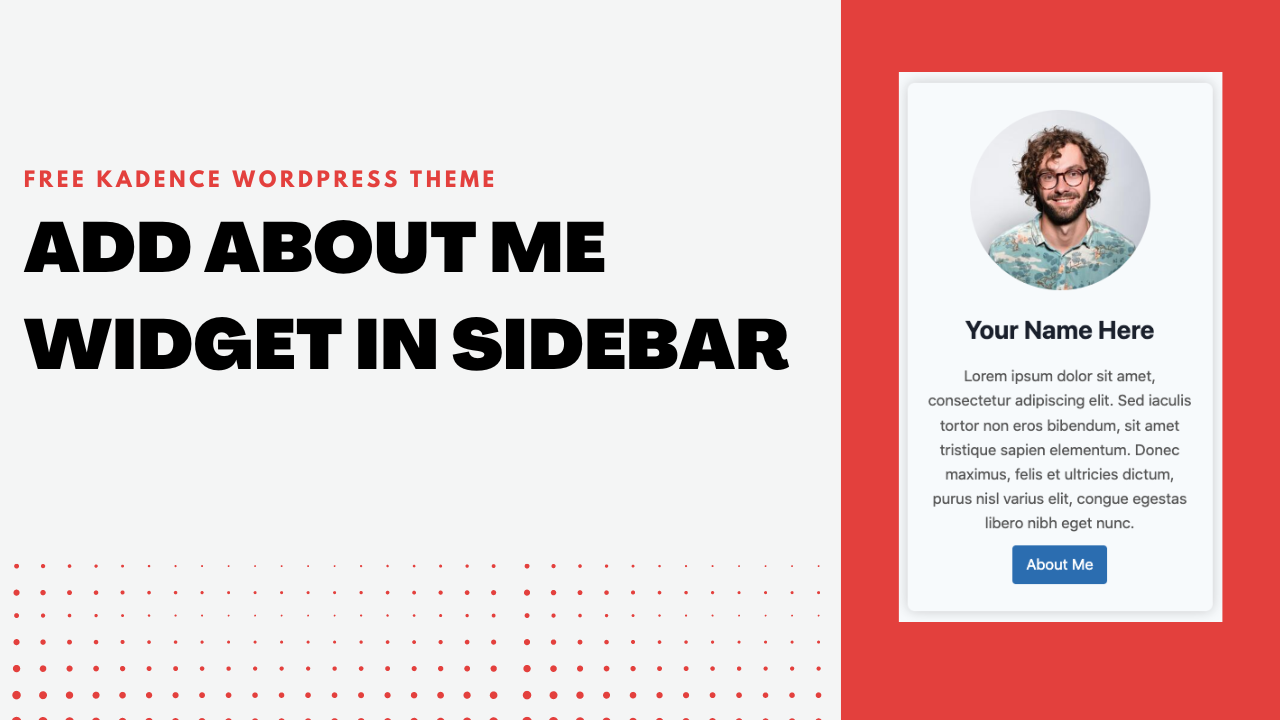
If you are running a blog you, then you must show your bio information inside the sidebar of your website with your profile image and button to your about page. In this tutorial we will learn how to add about box in sidebar of the kadence free theme.
If you are using the Kadence FREE or PRO theme for your website then you can add that easily. In this tutorial I will show you how to do that easily.
If you don’t have time to ready this tutorial then you can watch this video
Step 1: Enable sidebar for Single Post Layout
Check if you have sidebar enabled for your single post layout. You can check that from
Appearance => Customize => Posts/Page Layout => Single Post Layout
Then under Default Post Layout settings you will have option to select sidebar layout. You can either select left sidebar or right sidebar layout. In this tutorial we selected right sidebar layout. After selecting the layout click on

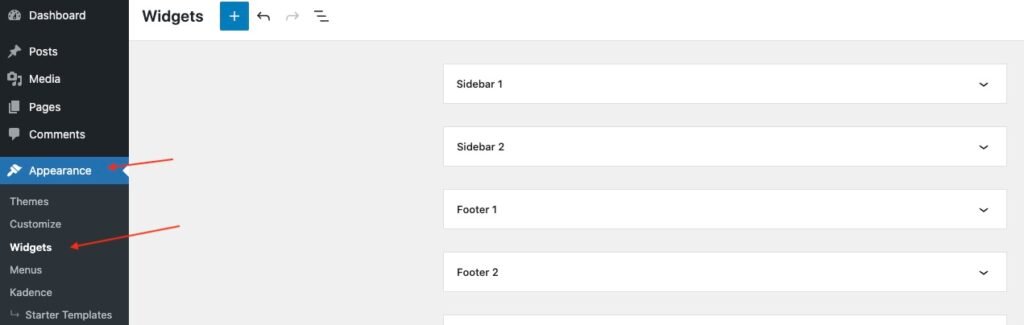
Step 2: Open Widget settings page
Then to add about me box inside the sidebar you have to visit
Appearance => Widgets
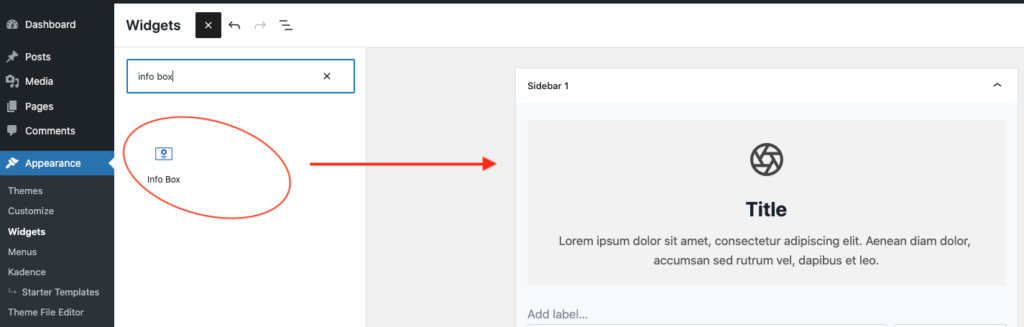
Step 3: Add Info Box Block As Widget Inside The Sidebar
After this add Info Box widget inside the Sidebar 1. We are adding widget inside sidebar 1 as this our website’s default sidebar. If you have selected any sidebar as your default sidebar then you have to add widget inside that sidebar.
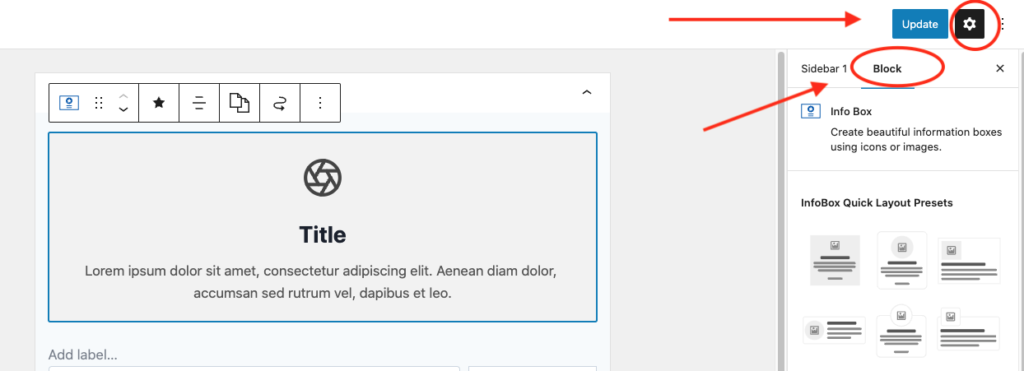
Step 4: Change text and Add your profile photo
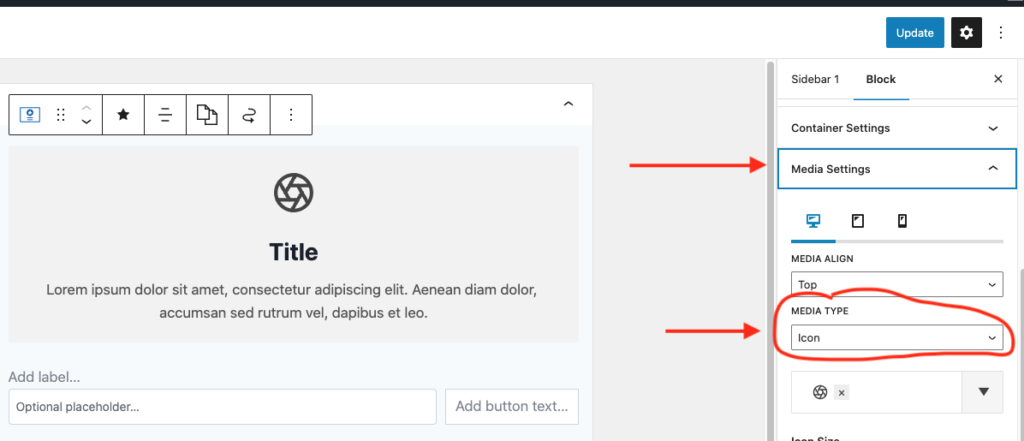
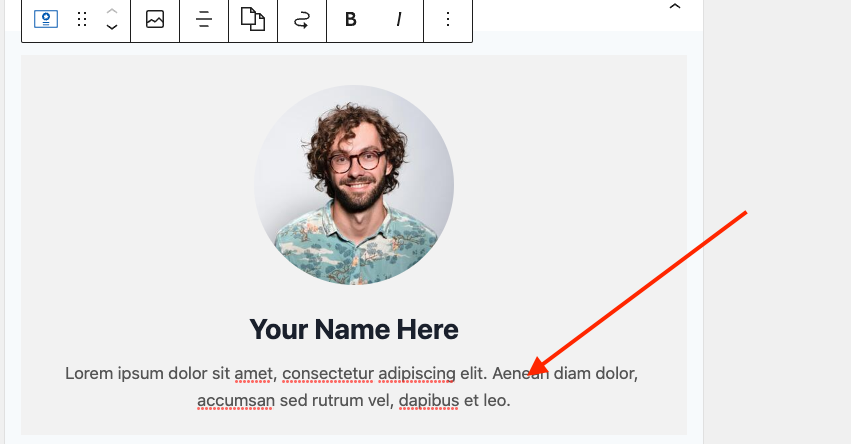
Click on info box widget and it will show info box block settings in right sidebar like this

1. Change Profile Photo
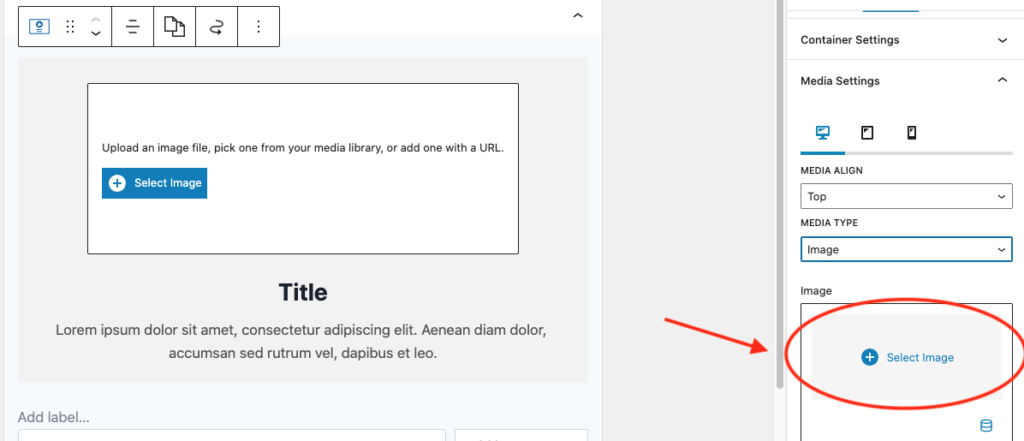
To add your photo. Go to media settings of the info box. And change media type to image.
After that using the “Select Image” option upload your image and select that.
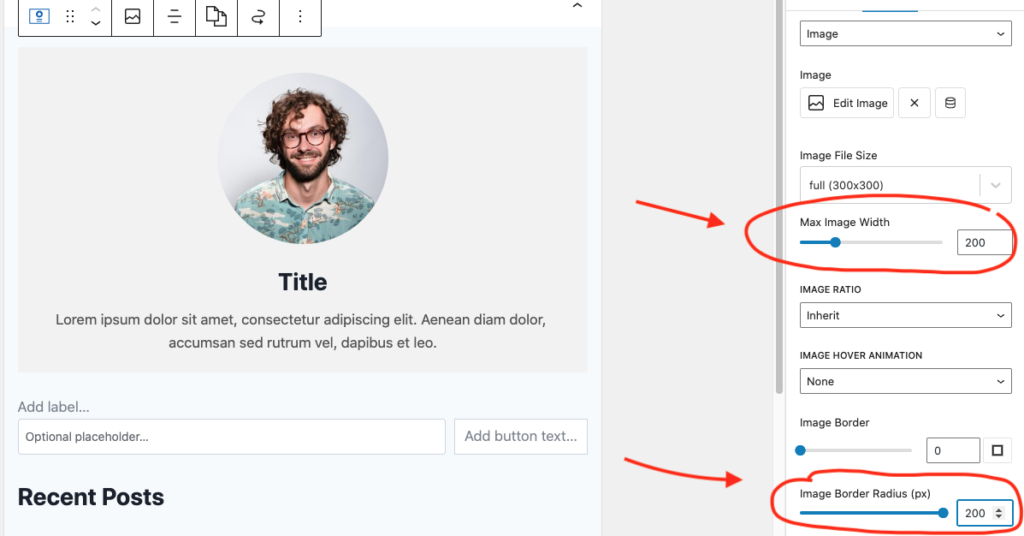
If you want to show a circular image then use these 2 settings for your image. Set your image maximum width to 200px (or what ever you want).
Then inside the image border radius settings add same value as border radius.
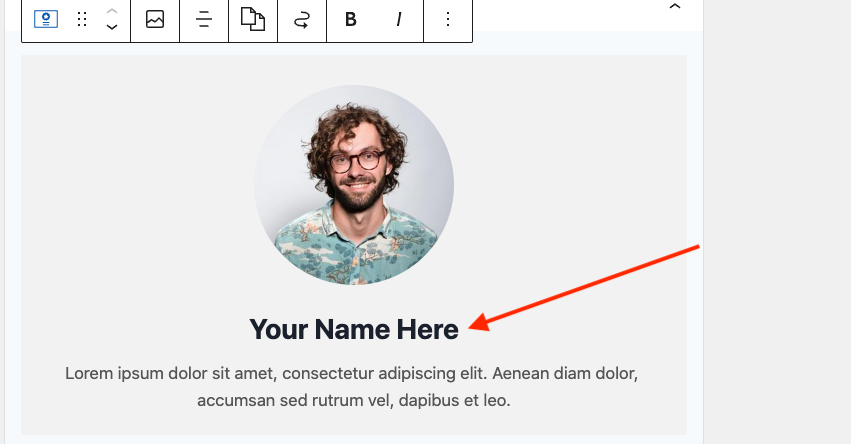
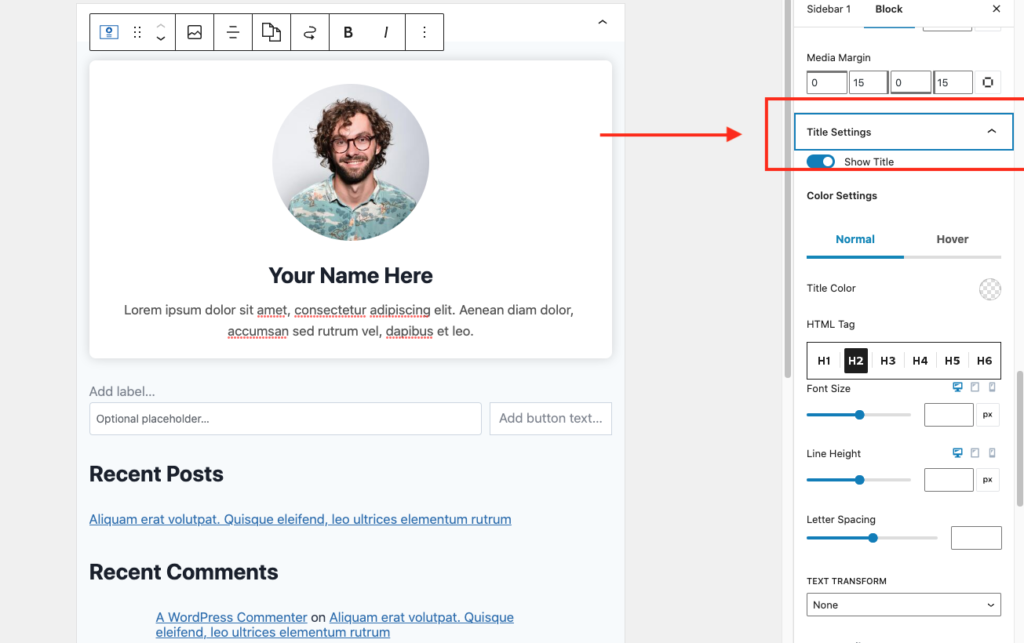
2. Change Title
To change title of the info box. Click on title and add your own text.
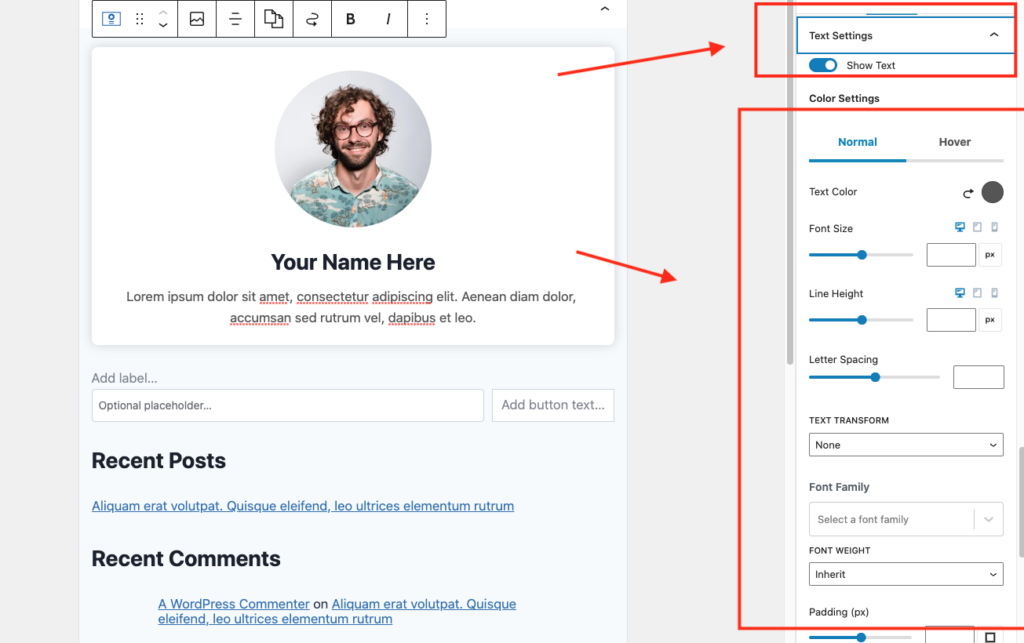
3. Change Description or Bio Text
Same like title. Click on the text below the title and add your own text.
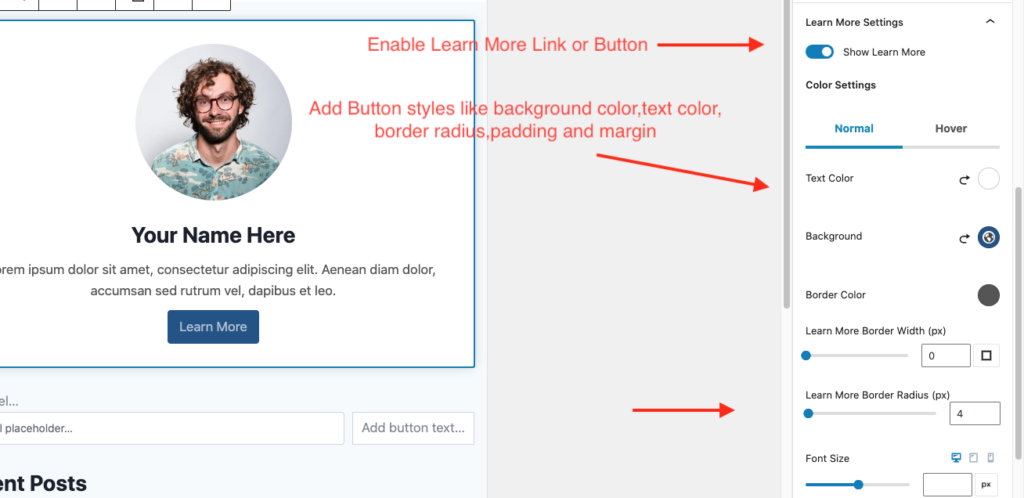
4. Add Button
To Add button to your info box you have to enable “Learn More Setting”.
After enabling the setting style your button according to your requirements. Here you have options to add background color , text color, hover background color, hover text color,padding, border radius,margin.
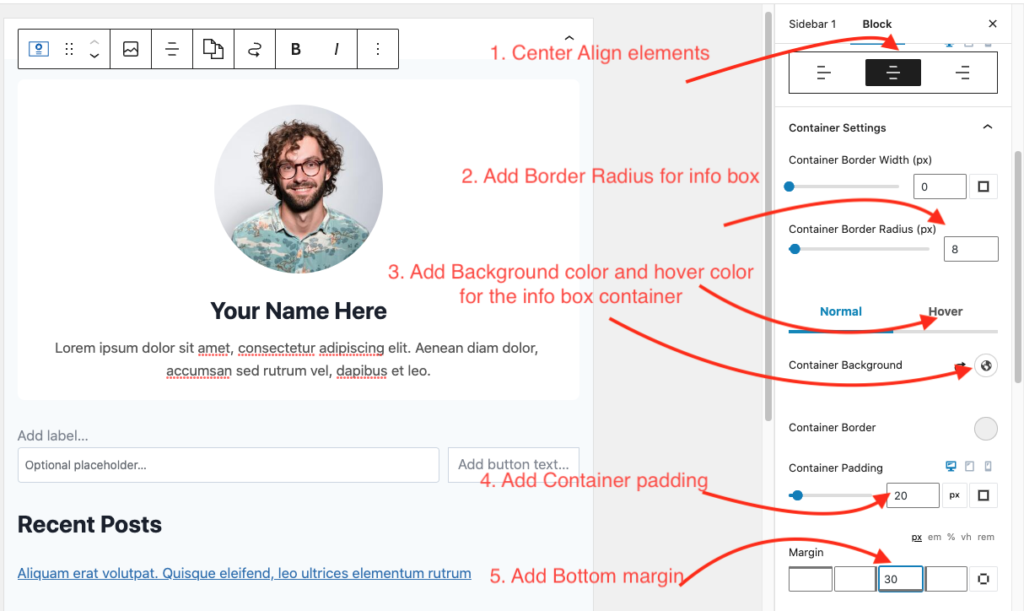
Step 5: Change style of the info box.
You can style info box widget according to your requirements. I will show you some settings which we applied to our info box widget.
1. Add Padding , bottom margin, Border Radius , Background color and Shadow to Info Box Container.
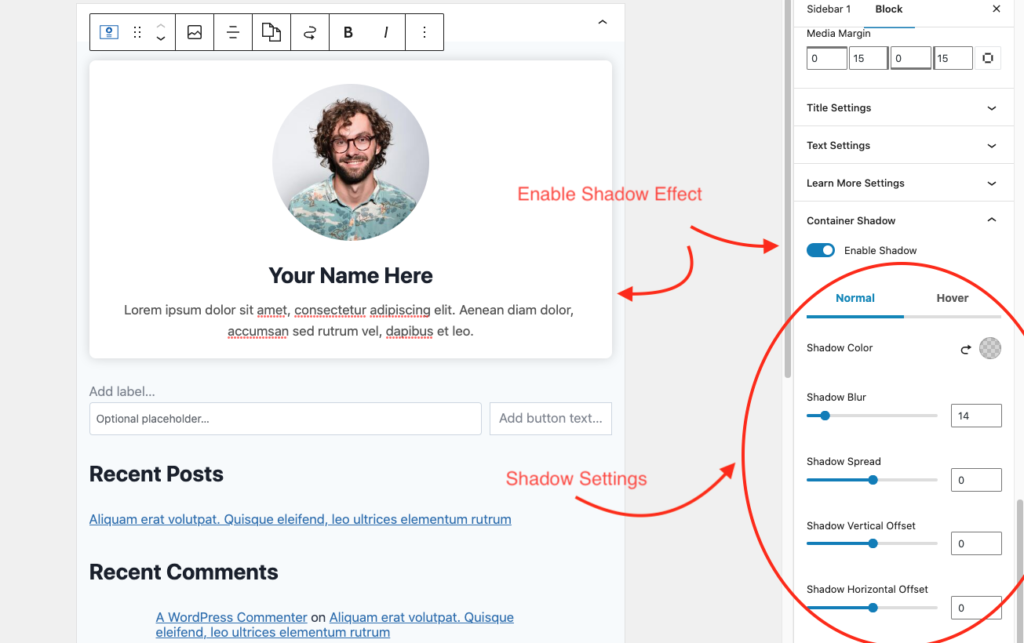
To add shadow to info box block. Scroll down in sidebar settings panel. You will find “Container Shadow” settings.
Enable shadow using this setting. You can have option to add shadow in normal as well as for mouse hover state.
2. Title & Text Settings
If you want to change style of Title and Text then you can change that. For our box we are using default theme styles.
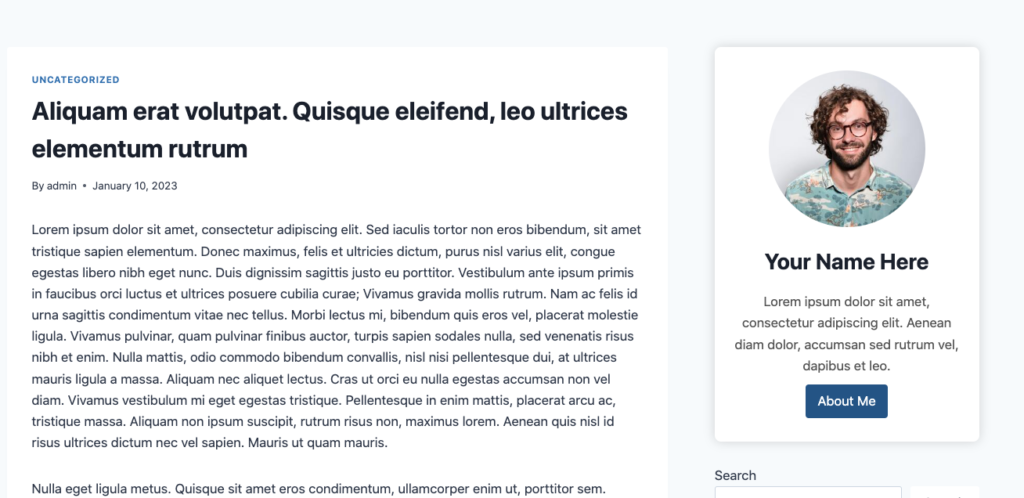
You can style the info box according to your requirements. This is how the info box will look like when you use settings similar to our.
Thanks for your time. If you have any questions or comment for this tutorial then please use comment box to reach out.